Word Family Flower
In my very first blog post ever I'd like to share a craft my little man and I did to help him learn word families. Click the link above for the template if you'd like to try to make your own.
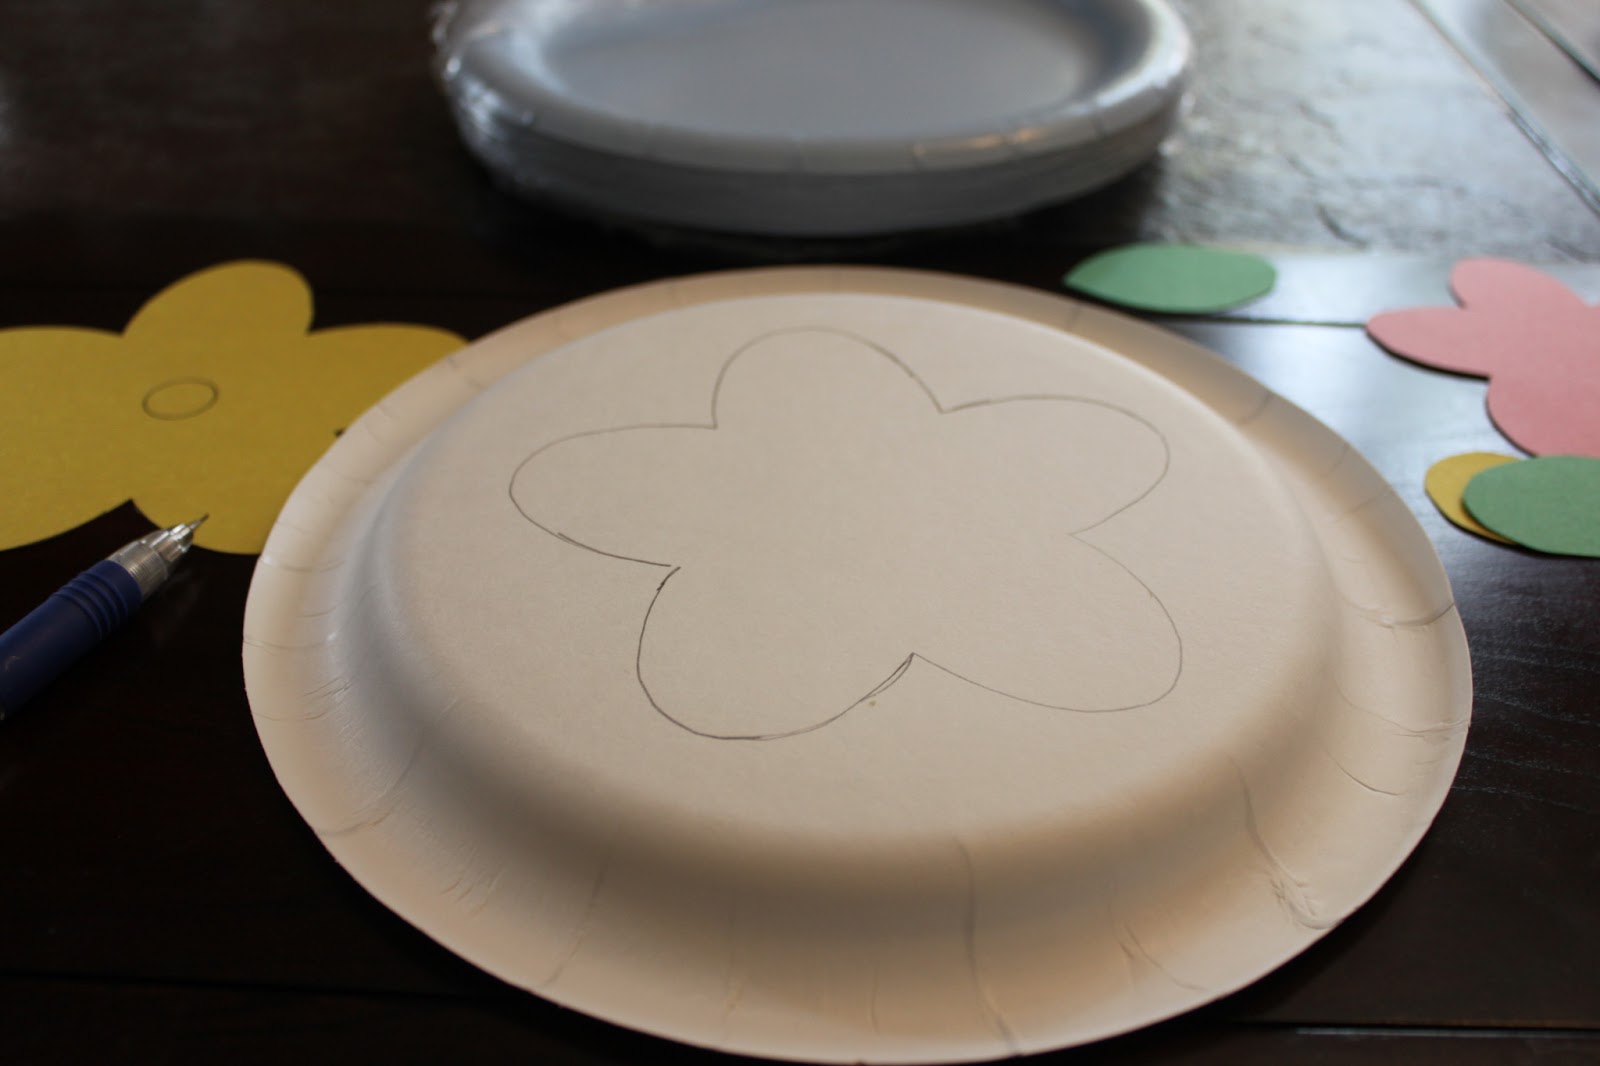
I used paper plates and a thick glitter card stock for the flowers. Toddler hands are going to be handling this so it needed to be something sturdy. I traced the flowers from the template and cut them out.
The big flower will spin so it needs just one hole in the center. The bigger the hole in the center, the easier it will spin. The little flower needs two holes and a window.
I made two holes in the card stock I will be mounting my flower on. Then I cut strips of a paper plate and wove it through one hole.
Next the strip goes through the center of the large flower...
Now it goes up through one hole of the little flower and back down through the other hole.
Weave it back through the hole of the large flower and through the empty hole that was left in the card stock.
Here you can see it going through each piece. (On this one I used pipe cleaner instead of the strip of paper plate, but the pipe cleaner made it harder to glue the word ending on.)
Finally, tape down the strip on the back of the card stock. Make sure it's not too tight or the flower won't spin.
Write down the beginning letters when the flowers are together to make sure they are visible through the window. We did "ap" words (map, cap, nap, lap, tap), so through the window I wrote the letters m, c, n, l, and t. On the circle write the word endings (in our case "ap") and glue it in the center of the flower.
At last, we glued on some leaves and added some paint to the back ground. Now to make the rest of the garden!!!
I hope you enjoyed my first blog post! Leave me a comment and let me know what you think!


